
I love paper mache. It's like working with clay, but simpler. Also, I'm so excited to decoupage some Luxe in Bloom fabric onto my paper mache makings. Here's a little how to on paper mache, incase you've never done it. I'm sure you all have though.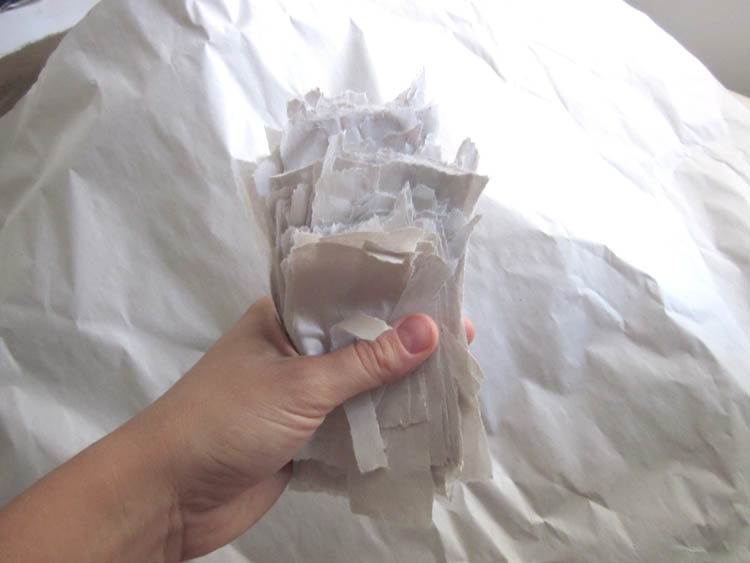
Okay, first step, gather your paper. You can use literally almost any piece of paper. I've used old school notebooks, newspaper, moving paper (that's what I have here), magazines, napkins. Just a bit of advice, the thinner the paper, the more easily it will start to crumble in your hands while working with it. So maybe save the tissue paper for a more experienced project. Also, on that note, thicker paper, like glossy magazines, you may need to soak a minute or two in your goo, to make it more pliable.When you have your paper, tear it into strips. Paper has a grain, so you'll find one direction extremely easy to tear, while the opposite will be harder. You can use any size paper, but I find long and thin rectangles to be the easiest to work with.


 So! Applying! Dunk a strip of fabric in the goo, and wipe off any excess goo (easiest way is to run it between your pointer and middle fingers), and lay er down! On flat surfaces, like this plate, I like to go in a herringbone pattern. For bowls I try to lay down strips in alternate directions, although sometimes it just ends up a mess.
And that's pretty much it! It usually takes me a few layers, and I usually do one or two layers and let the piece dry, but feel free to experiment!
No comments:
Post a Comment